
Applying Bundles to Endpoints
Once you've created your bundle definition with all its elements and zone coverage, you need to actually apply it to endpoints to make it useful. Remember, that bundle you just created is still just a template - applying it creates individual instances for each endpoint.
Once you have 1 or more bundles created you can apply them to 1 or more endpoints. To do this.
- Ensure you have your tenant account selected.
- Navigate to Customers, then select the customer you want to apply the bundle to
- Click the Endpoints tab
- Select 1 or more endpoints and using the Actions button click Apply Bundle
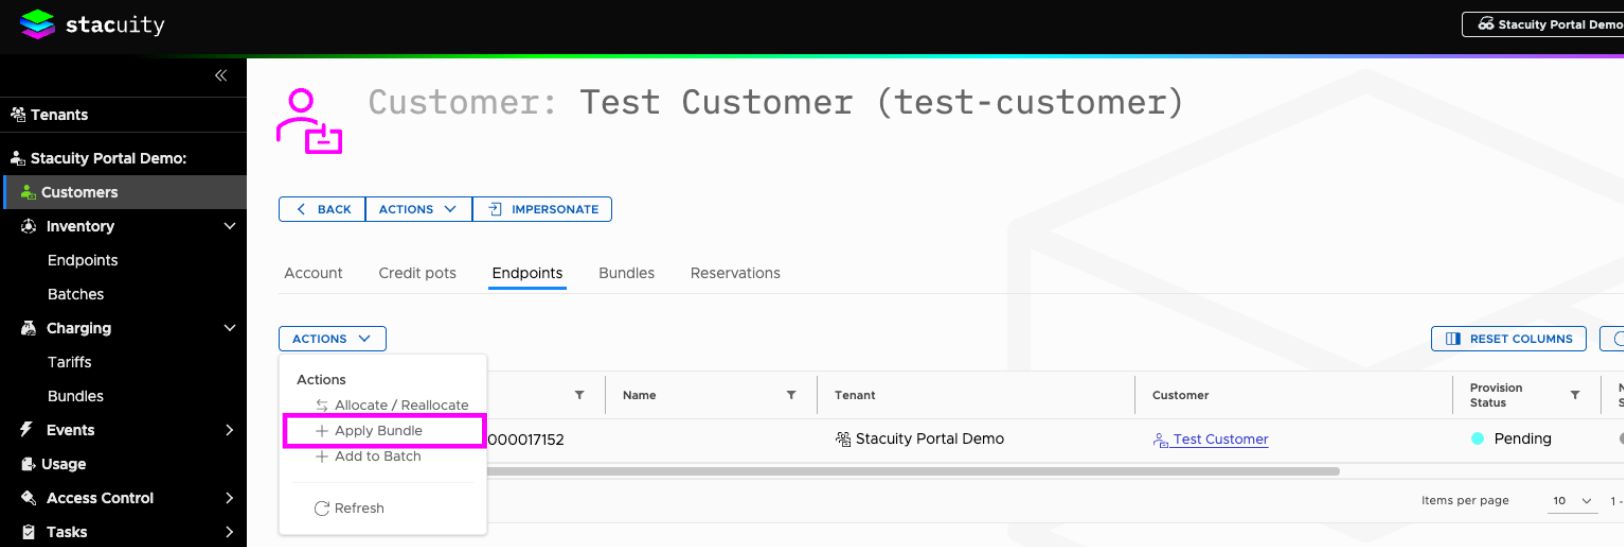
Once you've selected which bundle to apply to your endpoint(s), there are a few key settings to configure before applying the bundle.
The system will show you the default iterations from your original bundle definition. You can override them here. Assume your bundle was set up for 12 monthly iterations, but this particular customer only needs 6 months of service. You have the freedom to change it here.
This override feature unlocks the ability to reuse the master bundle across different customers and endpoints. Without it, you'd be stuck creating dozens of bundle definitions for every possible duration: 1-month versions, 3-month versions, 6-month versions, 12-month
The start option is crucial
This determines exactly when your bundle becomes active and starts its countdown. You've got three choices:
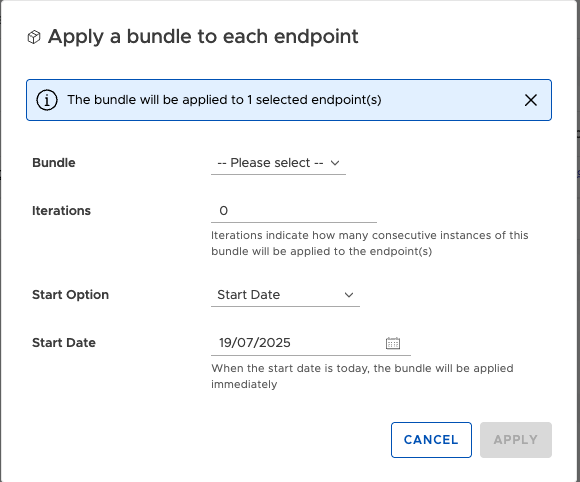
Start Date: The Scheduled Approach Pick a specific date when you want the bundle to begin.
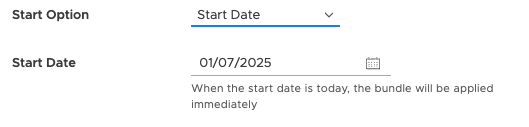
Endpoint Activation: The "Ready When You Are" Option The bundle starts when the endpoint gets provisioned on the mobile carrier's network (when it goes into an endpoint group).
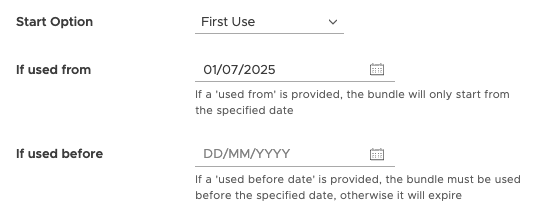
First Use: The Bundle starts the moment the endpoint first connects to a network covered by the bundle elements.
Updated 7 months ago
Bundle Overview Display